Cleaning Routines & Systems
The Clean-As-You-Go Method: Simple Rules That Change Everything
7 simple rules that stop kitchen mess from piling up in the first place.
Read the post →
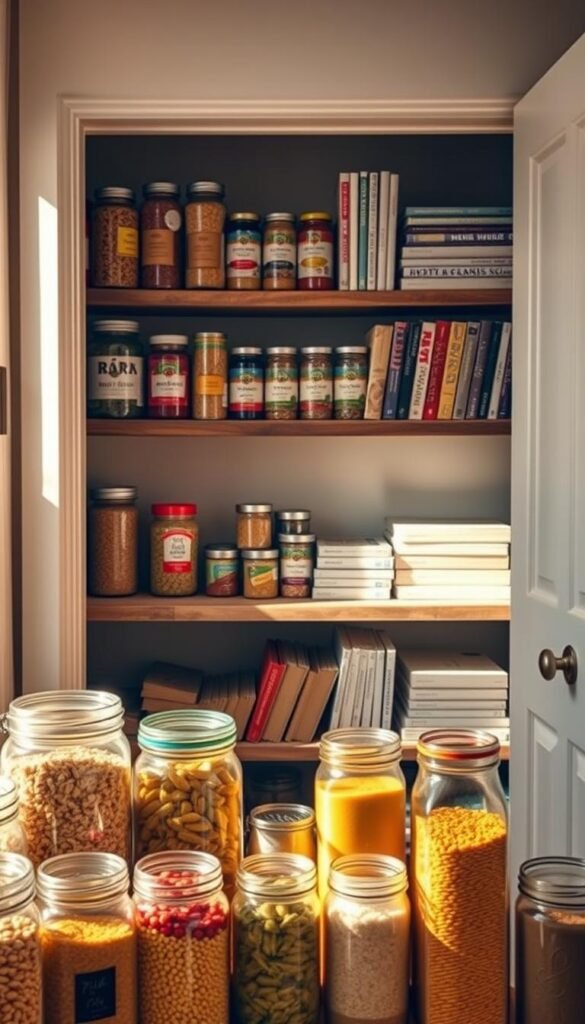
Most pantry inspiration online assumes you're starting with a blank checkbook — matching glass canisters, a label maker, custom shelving. If that's not realistic right now, you're not the problem. A genuinely useful pantry system doesn't need to cost more than what you already have sitting in a cabinet somewhere, plus maybe $20–25 in dollar-store bins.
This plan works shelf by shelf, with real substitutes for the expensive stuff, so you can actually finish it in an afternoon instead of waiting for a container order to arrive.
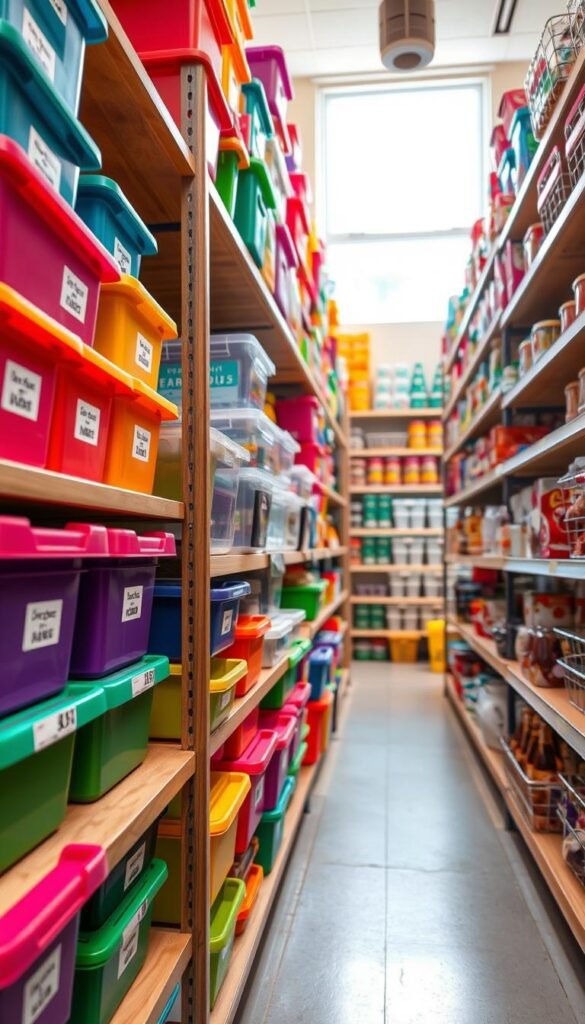
A trash bag, a box for donations, a marker and some cardstock or masking tape for labels, and whatever containers you already own — mason jars, cereal containers, shoeboxes. If you want to add a few dollar-store bins, most people can fully outfit an average pantry for around $25.
| Skip | Worth it if it fits your budget |
|---|---|
| Matching glass canister sets | A $10 lazy Susan for oils, sauces, and condiments |
| Custom shelving or built-ins | Stackable risers, if your shelves are deep and dark |
| A dedicated label maker | A roll of masking tape and a permanent marker |
The system falls apart fastest when new groceries get shoved wherever they fit. Build a habit of "old items forward, new items behind" every time you put groceries away — it's a simple first-in, first-out rule that keeps food from going to waste at the back of a shelf. A two-minute straighten once a week, and a fuller mini-declutter once a month, is enough to keep a budget pantry looking the way it did on day one.
Don't buy containers before you've sorted — you'll guess wrong about sizes and end up with mismatched bins anyway. And don't feel like you need to finish the whole pantry in one sitting; doing it in two or three shelves at a time, over a few evenings, works just as well and feels far less overwhelming.
Do I really not need matching containers?
No. A calm-looking pantry comes from clear categories and visible labels, not matching containers. Reused jars and mismatched bins work exactly as well functionally.
What if my pantry is very small?
Prioritize step 5 (breaking down bulky packaging) the most — it's the single biggest space-saver in a small pantry, often freeing up 20–30% more usable shelf space.
How often should I redo this?
A full reset once or twice a year is plenty if you keep up the weekly straighten and monthly mini-declutter in between.
Want a printable pantry inventory to go with this? It's part of the free Weekly Cleaning Schedule pack.
Get the Free Weekly ChecklistA calm pantry isn't about the containers — it's about being able to see what you have. Start with one shelf, keep the categories realistic for how you actually cook, and let the rest come together over a few evenings.
7 simple rules that stop kitchen mess from piling up in the first place.
Read the post →The full room-by-room list — kitchen to entryway — for a home that feels lighter today.
Read the post →