
Home Organization by Room · Back to School
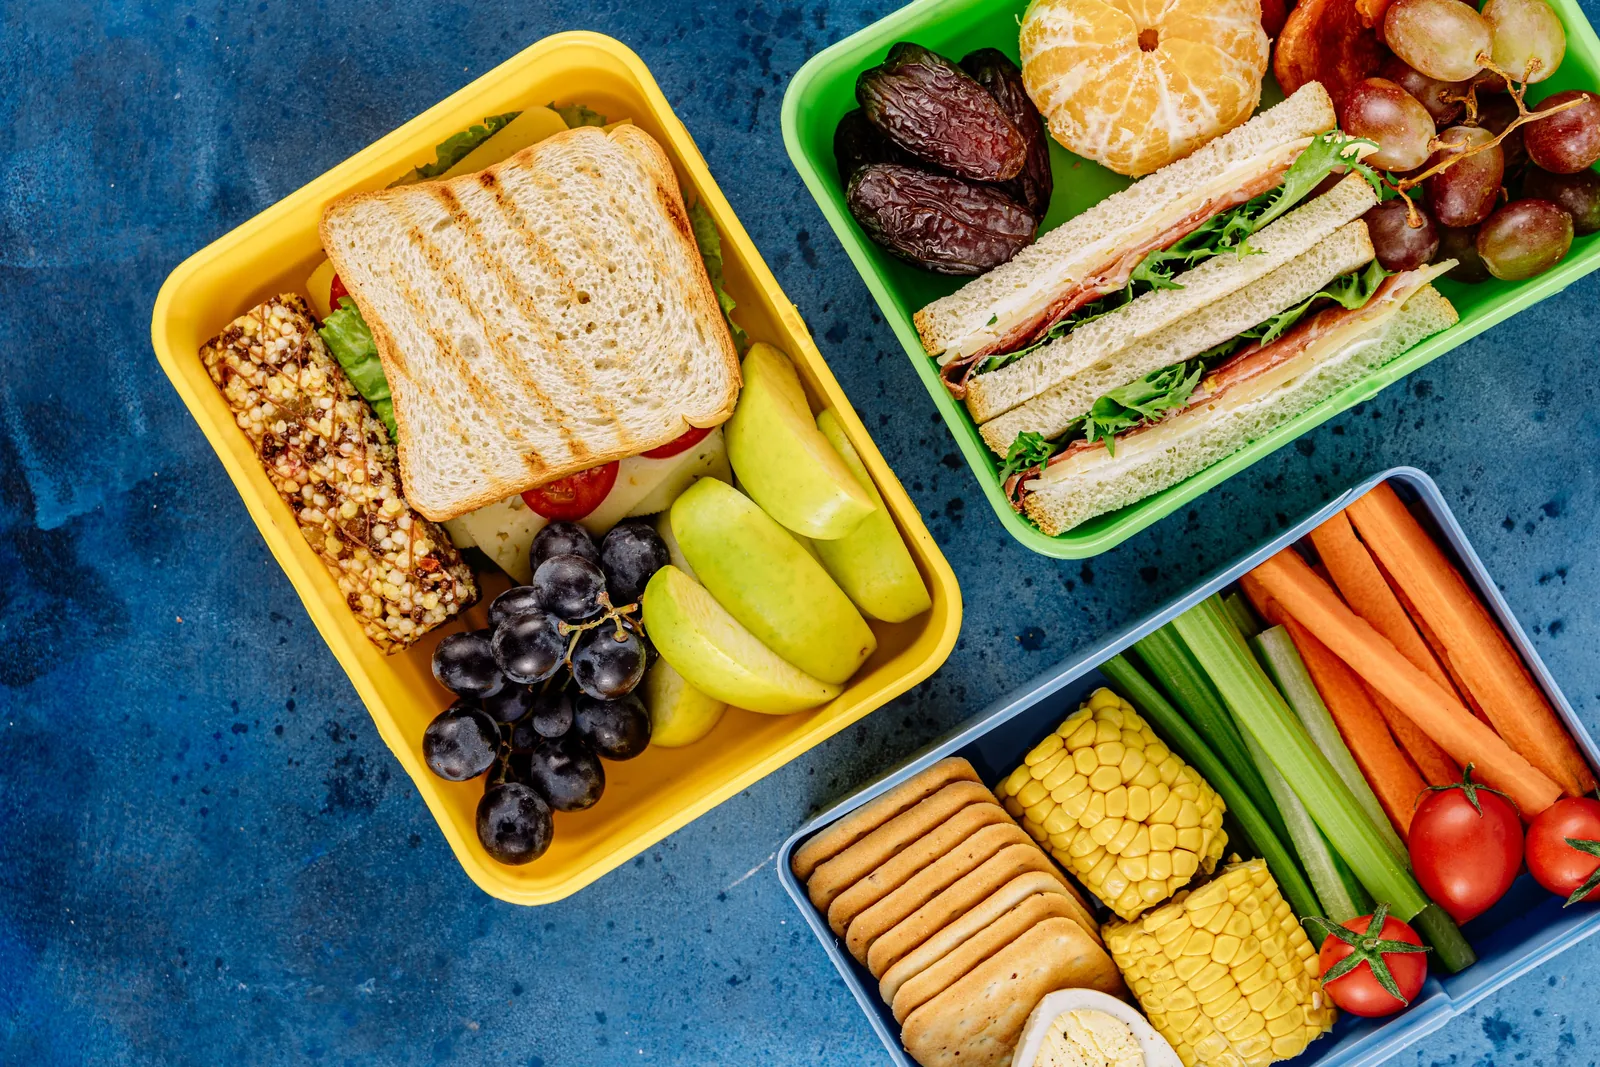
Packing school lunches gets frustrating when the lunch box is in one cabinet, lids are somewhere else, snacks are scattered across the pantry, and the water bottle you need is still in a backpack. The food is rarely the hardest part. The friction is.
A lunch station fixes that by giving the things you use every school day a small, predictable home. You do not need a Pinterest-perfect pantry or matching containers. You need a few zones that make the next action obvious.
The rule: organize around the task, not around the product. If two things are almost always used together to pack lunch, store them close enough that you can reach them in the same step.
What a useful lunch station actually includes
| Zone | What belongs there | Best location |
|---|---|---|
| Lunch gear | Lunch boxes, containers, lids, utensils | One drawer or low cabinet |
| Pantry picks | Crackers, bars, fruit cups, shelf-stable sides | One basket or shelf |
| Cold picks | Fruit, yogurt, cheese, prepared vegetables | One fridge bin or shelf section |
| Drink zone | Water bottles and reusable drink containers | Near lunch gear |
| Reset zone | Spot for emptied lunch boxes after school | Beside sink or dishwasher |
Step 1: empty the space before you buy anything
Choose the smallest practical area that can hold your daily lunch gear. One drawer plus one pantry basket is enough for many families. Pull everything out and remove duplicates, broken containers, orphaned lids, and anything nobody actually uses.
Do not solve a clutter problem by buying more bins first. If twelve containers are making the drawer impossible to close but you use the same four every week, reduce the inventory before you organize it.
Step 2: pair containers with lids
Lunch prep slows down quickly when every container starts with a lid search. Keep only complete sets and choose one simple storage method: lids upright in a small divider, lids clipped loosely to containers, or one dedicated lid section beside the matching bases.
Store the most-used sizes at the front. Occasional picnic containers and oversized food storage can live elsewhere; the lunch station is valuable because it contains only what this repeated task needs.
Step 3: make a pantry pick zone
Instead of searching the whole pantry each morning, dedicate one basket or shelf to lunch-friendly items. The exact foods depend on your household, but the system works best when you can see categories rather than a random pile.
- Crunch: crackers, pretzels, or another regular side.
- Fruit: shelf-stable fruit options or a reminder to grab fresh fruit.
- Extra: bars, pouches, or other items you routinely use.
- Backup: a few reliable options for the morning when groceries are running low.
If children help pack their own lunches, keep appropriate choices within reach and make the boundary visible: this basket is for school lunches, not an unlimited snack drawer.
Step 4: create a matching refrigerator zone
A small clear bin or one section of a refrigerator shelf can hold the cold components you reach for repeatedly. This works especially well for washed fruit, cheese, yogurt, prepared vegetables, or other foods you already serve.
The point is not to pre-portion an entire week if that creates more work. It is to reduce searching. When the cold lunch choices live together, you can see what is available and what needs restocking in seconds.
Step 5: decide your simple lunch formula
A station becomes much easier to maintain when you have a loose formula instead of inventing lunch from scratch every morning. Use whatever framework fits your family and school requirements. For example:
| Choose | Example role |
|---|---|
| 1 main | The filling center of the lunch |
| 1 fruit or vegetable | A fresh side |
| 1 crunchy or easy side | A familiar pantry option |
| 1 drink | Usually the prepared water bottle |
This is a packing framework, not a nutrition prescription. Use the foods and portions that are appropriate for your household.
Step 6: split prep between evening and morning
The easiest school mornings are not necessarily the ones where the entire lunch was packed the night before. They are the ones where nobody has to make unnecessary decisions.
- After school, empty lunch boxes during the 10-minute kitchen reset.
- Wash containers and bottles so they are available again.
- In the evening, check the next day's lunch needs and prepare anything that stores well.
- In the morning, add the genuinely last-minute components, close the lunch box, and move it directly to the launch zone.
Let kids help without creating another job
If your child is ready to participate, give them one repeatable responsibility rather than saying “pack your lunch.” A younger child might choose one pantry side and put the water bottle by the lunch box. An older child might follow the whole formula.
Clear physical zones make this easier because the system itself answers “where is it?” Pair it with your back-to-school morning routine so lunch pickup happens at the same checkpoint every day.
Set up a lunch station in 15 minutes
- Match containers and lids; remove incomplete sets.
- Clear one pantry basket for lunch-only grab-and-go items.
- Choose one refrigerator bin or shelf section for cold lunch components.
- Put lunch boxes and water bottles together.
How to keep the station from becoming another clutter zone
Give the station a tiny weekly reset. Before grocery shopping, throw away empty packaging, return wandering items, check your container supply, and see which categories are running low. This takes a few minutes because the station is intentionally small.
Avoid overfilling it. If the snack basket is packed so tightly that nobody can see what is underneath, the system has stopped doing its job. Keep overflow elsewhere and refill the working zone as needed.
Common mistakes
- Creating too many categories. Four useful zones beat twelve tiny labels that require constant sorting.
- Storing lunch gear with all food storage. Daily items disappear behind containers used twice a month.
- Making it inaccessible. If children are expected to help, the items they use need to be safely reachable.
- Skipping the after-school reset. The best station cannot help if yesterday's lunch box is still zipped inside a backpack.
- Buying matching organizers before measuring. Use what you own first; add a bin only when it solves a specific problem.
Frequently asked questions
Do I need a separate pantry to make a lunch station?
No. A single basket in a cabinet can be the pantry zone, and one drawer can hold the gear. The system is about grouping, not having a large space.
Should I portion snacks into individual bags?
Only if that genuinely saves your household time. The station should reduce work overall, not create a long Sunday prep session you dislike.
What if we have several children with different preferences?
Keep the shared structure and allow different choices within it. Separate labeled baskets are useful only if mixing the items causes real confusion.
How often should I reset the lunch station?
A quick check once a week is usually enough, plus the daily habit of returning clean gear to its home.
Back-to-School Home Systems Series
Build the school-year routine one small system at a time:
- The Back-to-School Home Reset: A Calm Routine for the First Week
- How to Build a Backpack & School Supplies Drop Zone That Stays Tidy
- The After-School Kitchen Reset: 10 Minutes to a Calm Evening
- Back-to-School Morning Routine: The System That Ends the Chaos
- Lunch Station Organization: A Simple System for Busy Mornings ← you are here
- The Family Command Center: What to Include for the School Year
- How to Reset Your Pantry for Back-to-School Snacking
Want the rest of the school-week household routine to feel this predictable? Pair your lunch station with the free Weekly Cleaning Schedule.
Get the Free Weekly ChecklistThe best lunch station is not the prettiest one. It is the one that lets you open one drawer, reach into one basket, grab one cold component, and move on with your morning. Start small, keep the daily gear together, and let the system earn any extra organizers later.